Here is a quick highlight of steps you need to perform to start using EazyGrid:
Create a new page from WP Admin:
![](https://paper-attachments.dropbox.com/s_1117939901F3F5F674E8769575F75A979381F0EC3C1C0520D84D8FA4D77DF5FB_1634452366718_screenshot-1.png)
Edit the newly created page with Elementor:
![](https://paper-attachments.dropbox.com/s_1117939901F3F5F674E8769575F75A979381F0EC3C1C0520D84D8FA4D77DF5FB_1634452366679_screenshot-2.png)
Search for Metro Post Grid:
![](https://eazyplugins.com/wp-content/uploads/2022/01/image-1024x388.png)
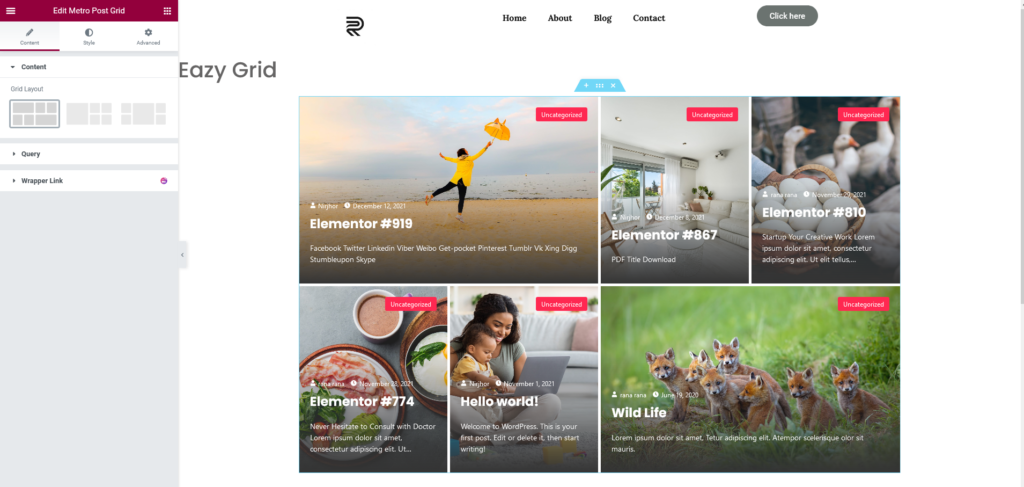
Drag the widget into an empty area:
![](https://eazyplugins.com/wp-content/uploads/2022/01/image-7-1024x487.png)
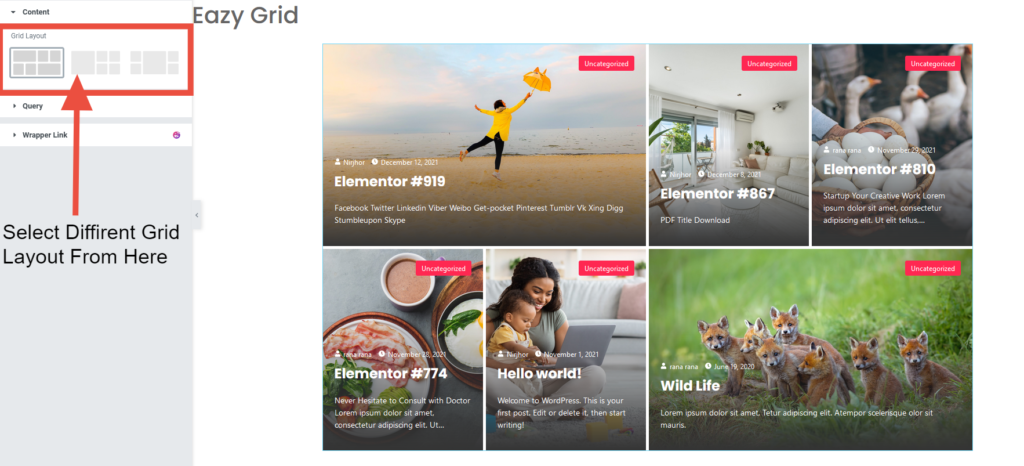
Now you can select your grid layout:
![](https://eazyplugins.com/wp-content/uploads/2022/01/image-8-1024x466.png)
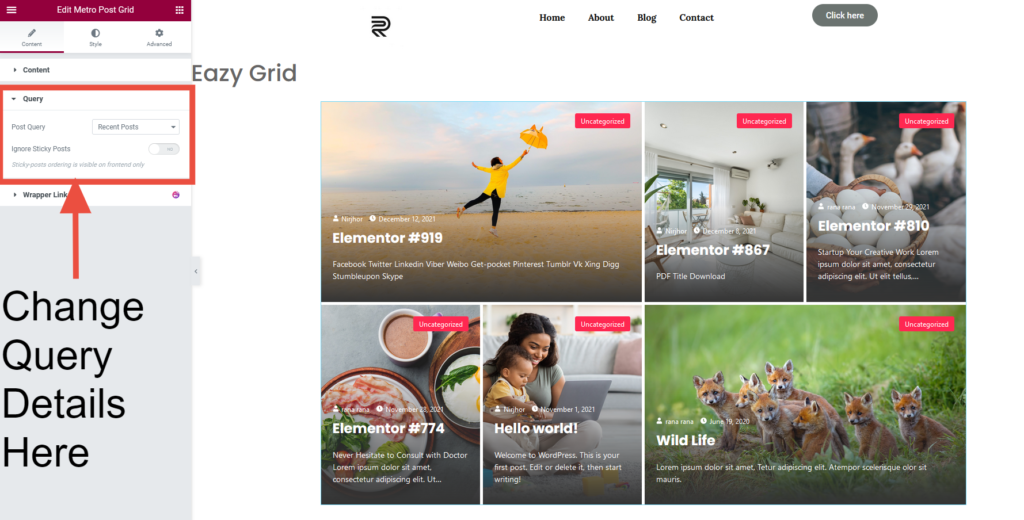
In the Query section, you can select post via category or just simply show recent posts. You can also control the usage of sticky posts:
![](https://eazyplugins.com/wp-content/uploads/2022/01/image-9-1024x520.png)
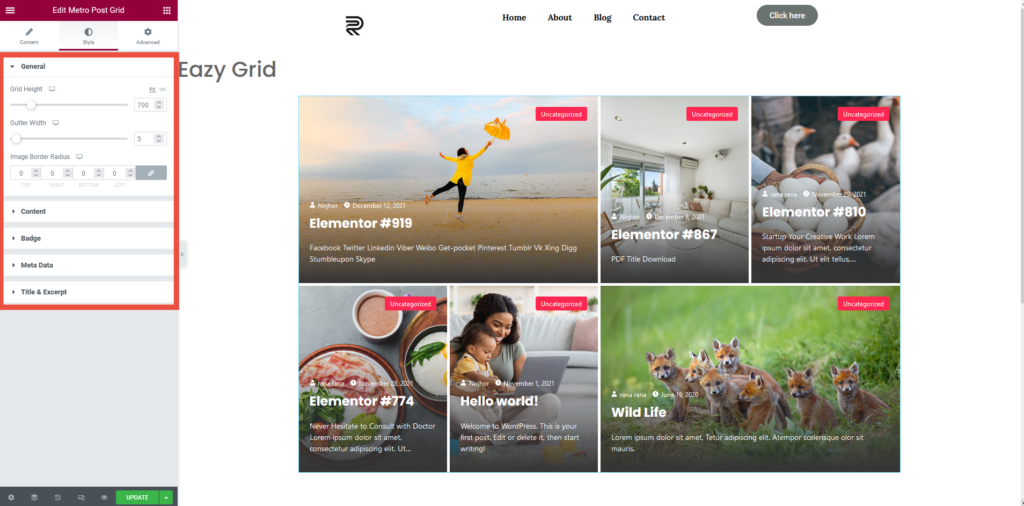
From style tab, you can adjust Grid Height, Gutter Width & Image Border Radius for Content, Badge, Meta Data and Title & Excerpt:
![](https://eazyplugins.com/wp-content/uploads/2022/01/image-10-1024x506.png)
Once you are done building your grid, update and preview the changes
![](https://eazyplugins.com/wp-content/uploads/2022/01/image-11-1024x584.png)